Pottery is a beautiful craft that has been around for centuries. It is the art of shaping clay into a desired form, then firing it in a kiln to create a durable and decorative piece. One of the critical steps in pottery making is trimming. Trimming is the process of removing excess clay from the potter's wheel to create a smooth and even surface. In this article, we will discuss how to trim pottery.
Before we begin, here are the materials you will need:
– Pottery Wheel
– Clay
– Pottery Tools (trimming tools, needle tool, sponge)
– Water
Step 1: Centering the Clay
The first step in trimming pottery is to center the clay on the pottery wheel. This is crucial as it will determine the success of the trimming process. To center the clay, place it on the wheel and use your hands to create a cone shape. Apply pressure to the clay with your hands, and use your thumbs to create a well in the center of the cone. Turn on the pottery wheel and continue to apply pressure until the clay is centered.
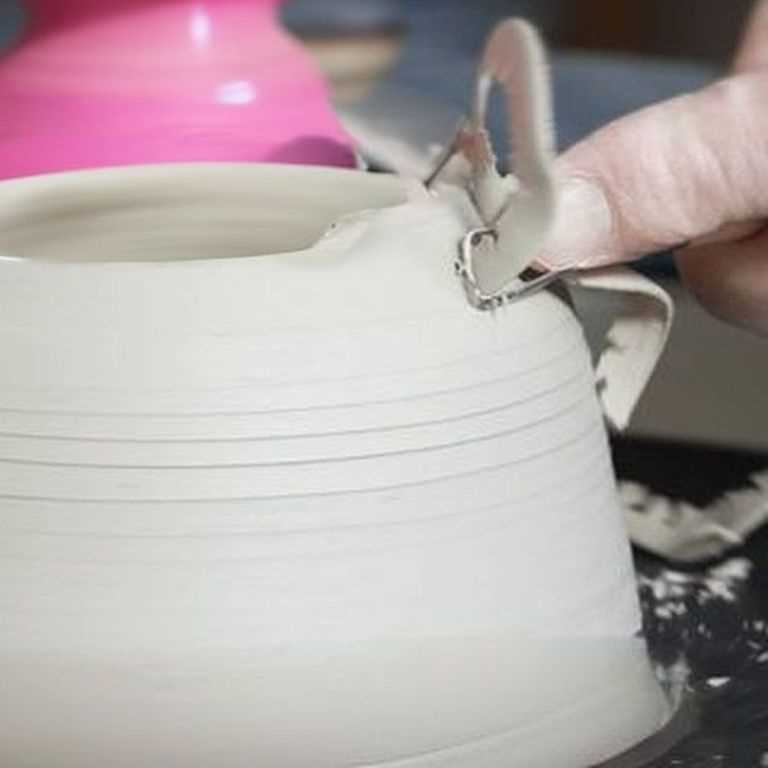
Step 2: Trimming the Foot
The next step is to trim the foot of the pot. The foot is the base of the pot and should be trimmed first to ensure that the pot sits evenly. To do this, use a trimming tool to remove the excess clay from the base of the pot. Start by holding the trimming tool at a slight angle and make small cuts into the clay. Gradually work your way around the base of the pot until you have removed the excess clay.
Step 3: Shaping the Pot
Once you have trimmed the foot, it is time to shape the pot. Use a trimming tool to remove the excess clay from the sides of the pot. Start at the top of the pot and work your way down, making small cuts into the clay. Be sure to keep the trimming tool at a slight angle to create a smooth and even surface. Use a sponge to clean up any excess clay and to smooth out the surface.
Step 4: Adding Details
If you want to add any details to your pot, now is the time to do it. You can use a needle tool to create patterns or textures on the surface of the pot. Be creative and experiment with different designs.
Step 5: Finishing the Pot
Once you have finished shaping and adding details to your pot, it is time to finish it. Use a sponge to smooth out any rough edges and to clean up any excess clay. You can also use a pottery rib to create a smooth surface. Be sure to remove any excess clay from the foot of the pot to ensure that it sits evenly.
Step 6: Drying and Firing
After you have finished trimming your pot, allow it to dry completely before firing it in a kiln. The drying process can take several days depending on the size of the pot. Once it is dry, fire it in a kiln according to the instructions provided by the manufacturer.
Trimming pottery is an essential step in the pottery making process. It requires patience, skill, and attention to detail. By following these steps, you can create a beautiful and functional piece of pottery that you can be proud of. Remember to take your time and enjoy the process. Happy trimming!