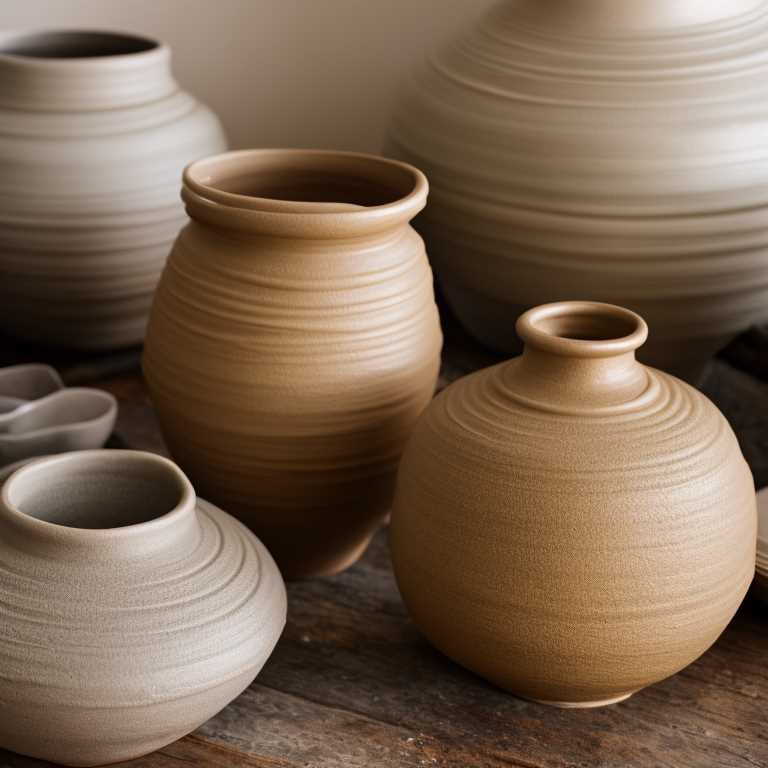
Pottery has been an art form for centuries, with evidence of clay pottery dating back to ancient civilizations. Making clay pottery at home can be a rewarding and relaxing experience, allowing you to create unique and personalized pieces. In this article, we will explore step-by-step instructions on how to make clay pottery at home.
Materials Needed:
– Clay
– Pottery wheel (optional)
– Rolling pin
– Clay knife or sharp tool
– Water
– Sponge
– Kiln or oven (optional)
Step 1: Choose Your Clay
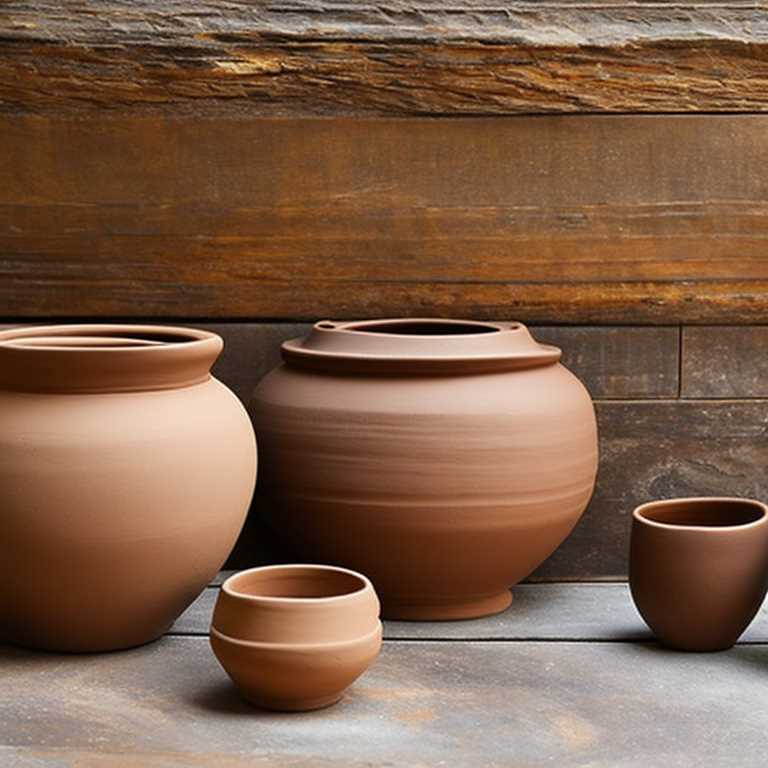
There are several types of clay available for pottery making, including earthenware, stoneware, and porcelain. Each type of clay has its own characteristics and requires different techniques for shaping and firing. Earthenware clay is a popular choice for beginners, as it is easy to work with and less expensive than other types of clay.
Step 2: Prepare Your Work Area
Before beginning your project, it is important to prepare your work area. Cover your work surface with plastic or newspaper to prevent clay from sticking to the surface. Have a bowl of water and a sponge nearby to keep your hands and clay moist.
Step 3: Knead the Clay
Kneading the clay is an essential step to prepare it for shaping. Begin by placing the clay on your work surface and kneading it with your hands. This process helps to remove any air bubbles and make the clay more pliable. Knead the clay for several minutes until it is smooth and free of lumps.
Step 4: Shape the Clay
There are several techniques for shaping clay, including hand-building and using a pottery wheel. Hand-building involves using your hands and shaping tools to mold the clay into the desired shape. Using a pottery wheel allows you to create symmetrical shapes, such as bowls or vases.
For hand-building, begin by rolling the clay into a ball and flattening it into a disc shape. Use your hands and tools to shape the clay into the desired form. For example, you can create a pinch pot by pinching the clay between your fingers and shaping it into a bowl shape.
If using a pottery wheel, place the clay on the center of the wheel and use your foot to control the speed of the wheel. Use your hands to shape the clay into the desired form, such as a bowl or vase.
Step 5: Trim and Smooth the Edges
Once you have shaped the clay, use a clay knife or sharp tool to trim any excess clay and smooth the edges. This step is important for creating a clean and professional-looking piece.
Step 6: Let the Clay Dry
After shaping and trimming the clay, it is important to let it dry before firing it in a kiln or oven. The drying time will depend on the size and thickness of the piece. It is important to allow the clay to dry slowly to prevent cracking or warping. Cover the clay with a plastic bag or cloth to prevent it from drying too quickly.
Step 7: Fire the Clay
Firing the clay is the final step in creating pottery. Firing can be done in a kiln or oven, depending on the type of clay used. Follow the instructions for your specific type of clay and firing method.
If using a kiln, place the clay on a kiln shelf and fire it according to the temperature and time recommended by the manufacturer. If using an oven, place the clay on a baking sheet and fire it at a low temperature for several hours.
Step 8: Glaze the Pottery (Optional)
After firing the clay, you can choose to glaze the pottery to add color and shine. Glazing can be done with a brush, sponge, or spray bottle. Follow the instructions for your specific type of glaze and firing method.
Step 9: Enjoy Your Creation
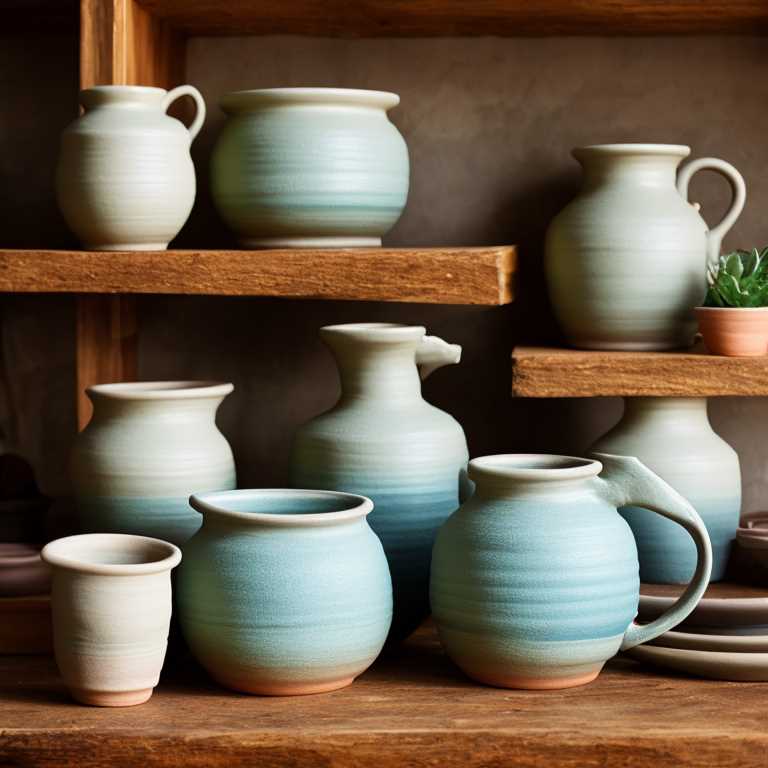
Once the glaze has dried and the pottery has been fired again, your creation is complete! Enjoy your unique and personalized piece of pottery.
Making clay pottery at home can be a fun and rewarding experience. With the right materials and techniques, you can create unique and personalized pieces of pottery. Remember to take your time and enjoy the process, and don’t be afraid to experiment with different shapes and designs.