Pottery has been around for thousands of years, and it remains a popular craft today. Making pottery at home can be a relaxing and creative hobby, and it’s easier than you might think. Whether you’re a beginner or an experienced potter, here’s a step-by-step guide on how to make pottery at home.
1. Choose your clay
The first step in making pottery is to choose your clay. There are many types of clay available, each with its own unique properties. Some popular types of clay include earthenware, stoneware, and porcelain. Each type of clay has different firing temperatures and can be used to create different types of pottery.
When choosing your clay, consider what type of pottery you want to make and what firing method you will be using. If you’re new to pottery, start with a beginner-friendly clay like earthenware.
2. Prepare your workspace
Before you begin making pottery, you’ll need to prepare your workspace. Choose a room or area that is well-ventilated and has plenty of space to work in. Cover your work surface with a plastic sheet or newspaper to protect it from clay and water.
You’ll also need some basic pottery tools, such as a pottery wheel, clay cutter, and various shaping tools. These can be purchased from pottery supply stores or online.
3. Wedge your clay
Once you have your clay and workspace ready, it’s time to wedge your clay. Wedging is the process of kneading the clay to remove air bubbles and make it more pliable. To wedge your clay, cut off a small piece and roll it into a ball. Then, slam it onto your work surface several times to remove any air bubbles. knead the clay by folding it in half and pressing it down with your hands. Repeat this process several times until the clay is smooth and pliable.
4. Center your clay
If you’re using a pottery wheel, the next step is to center your clay. Centering is the process of getting the clay to spin evenly on the wheel. To center your clay, place it on the wheel and press it firmly down with your hands. Then, turn on the wheel and use your hands to guide the clay into the center of the wheel. Keep your hands wet to prevent the clay from sticking.
5. Shape your clay
Once your clay is centered, it’s time to shape it. Use your hands and shaping tools to create the desired shape. If you’re a beginner, start with a simple shape like a bowl or mug. Keep your hands wet to prevent the clay from drying out.
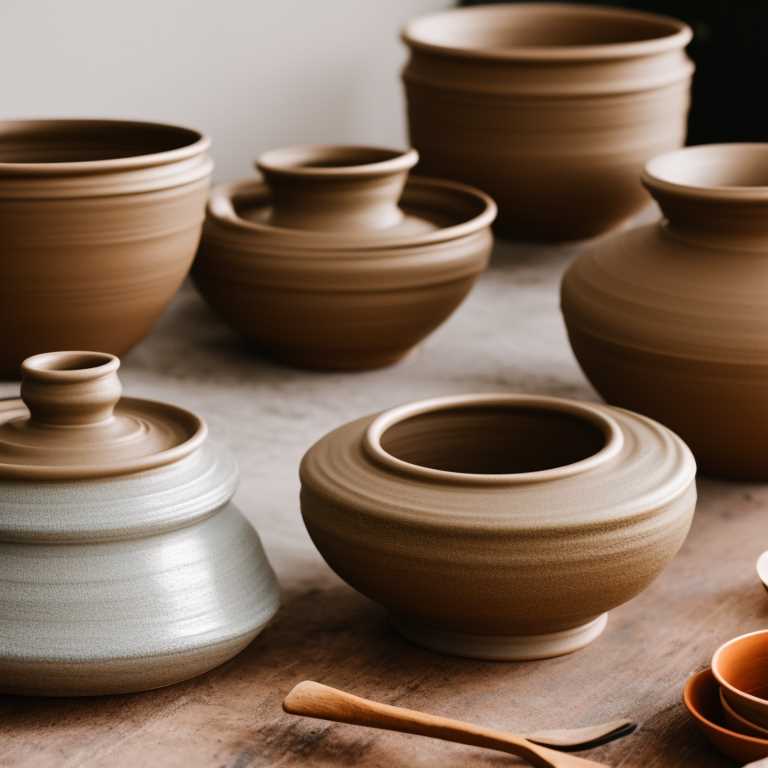
6. Dry your clay
After shaping your clay, it’s time to let it dry. There are two methods for drying clay: air-drying and kiln-drying. Air-drying is the slower method and can take several days to a week. Kiln-drying is the faster method and involves firing the clay in a kiln at high temperatures. If you’re using an air-drying method, place your pottery in a dry, well-ventilated area and turn it over every few hours to prevent warping. If you’re using a kiln, follow the manufacturer’s instructions for firing.
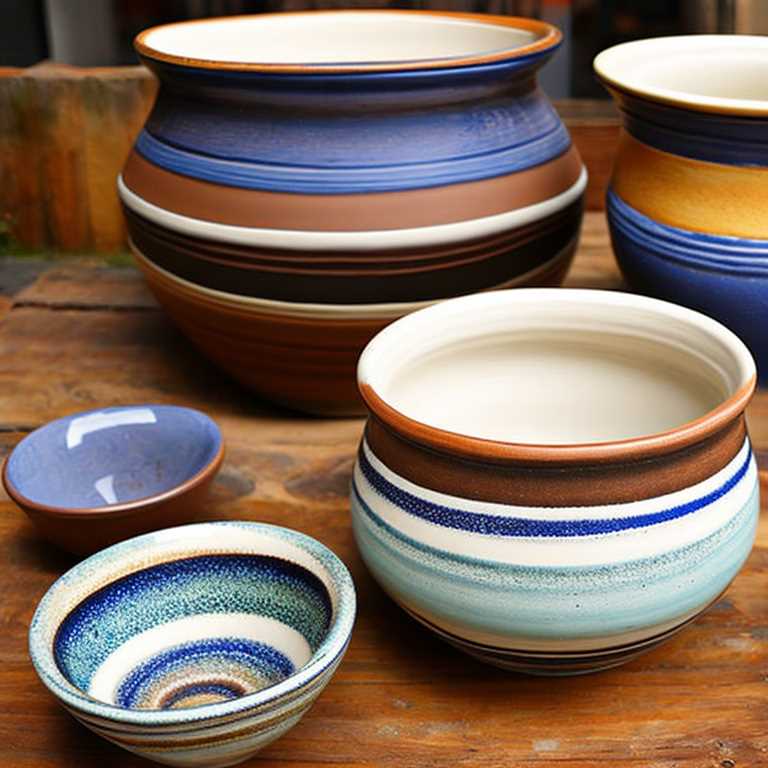
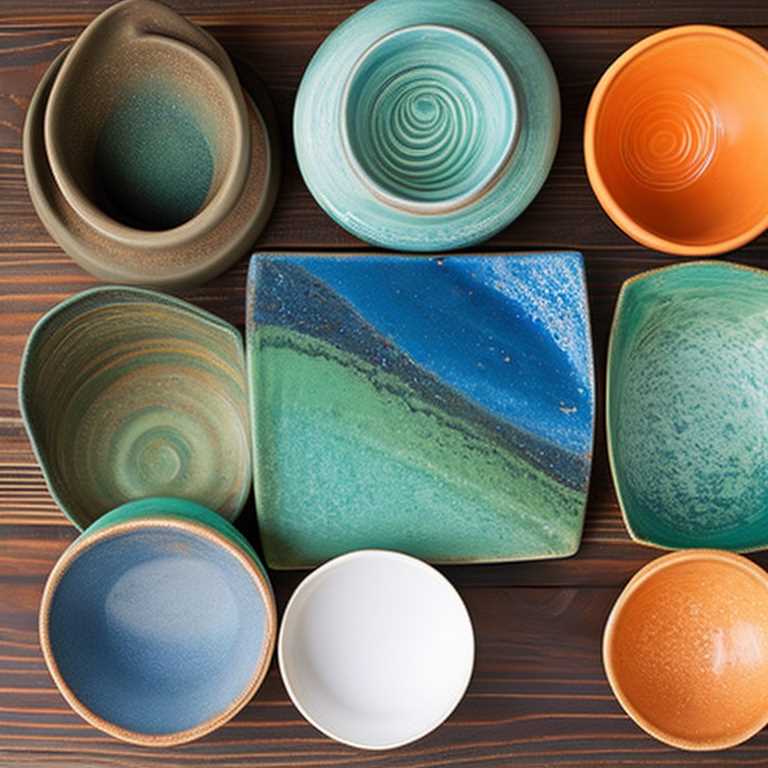
7. Glaze your pottery
Once your pottery is dry, it’s time to glaze it. Glazing is the process of applying a liquid coating to the pottery to give it a smooth, shiny finish. There are many types of glazes available, each with its own unique properties. Some popular types of glazes include clear, matte, and glossy.
To glaze your pottery, apply the glaze with a brush or dipping it into the glaze. Make sure to cover the entire surface of the pottery. Then, let the glaze dry completely before firing.
8. Fire your pottery
The final step in making pottery is firing it. Firing is the process of heating the pottery to a high temperature to harden the clay and set the glaze. If you’re using a kiln, follow the manufacturer’s instructions for firing. If you’re using an air-drying method, you can fire the pottery in a oven. Increase the temperature to 200°C and bake the pottery for an hour.
Once your pottery is fired, it’s ready to use or display. Congratulations, you’ve made your very own pottery!
Making pottery at home is a rewarding and satisfying hobby. With a little practice and patience, you can create beautiful and functional pottery that you can use or give as gifts. Remember to choose your clay carefully, prepare your workspace, and follow the proper steps for wedging, centering, shaping, drying, glazing, and firing. Happy potting!