How to pit fire pottery

Pit firing is an ancient technique for firing pottery that has been used for thousands of years. It is a simple, yet effective method that produces unique and beautiful results. Pit firing pottery involves burying the pottery in a pit and firing it with wood, sawdust, or other combustible materials. The process can take several hours or even days, depending on the size of the pit and the amount of pottery being fired. In this article, we will guide you through the steps of pit firing pottery, including preparing the pottery, building the pit, firing the pottery, and finishing the pieces.

Preparing the Pottery

Before you can pit fire your pottery, you need to prepare your pieces for the process. The first step is to make sure that your pottery is completely dry. Any moisture in the clay can cause it to explode during firing, so it is important to let your pottery dry completely before pit firing it. To ensure that your pottery is dry, let it sit in a dry, warm place for at least a week after it has been made.

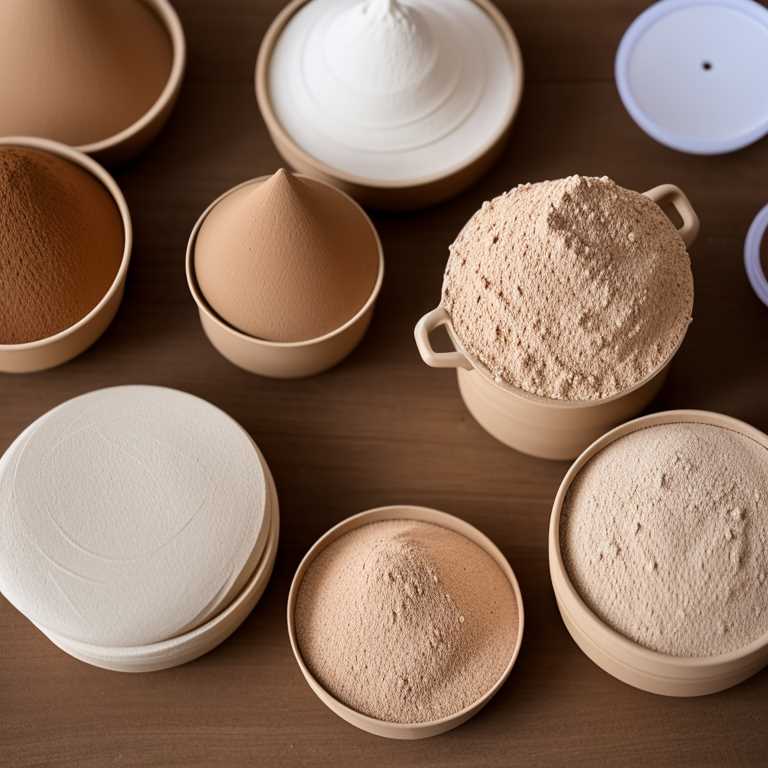
Once your pottery is dry, you can apply a slip or glaze to the surface. A slip is a thin layer of liquid clay that is brushed onto the surface of the pottery before firing. It can be used to create decorative designs, add texture, or change the color of the clay. A glaze is a mixture of minerals and clay that is applied to the surface of the pottery before firing. It creates a smooth, waterproof surface and can be used to add color and shine to the pottery.

Building the Pit

The next step in pit firing pottery is to build the pit. You will need a pit that is at least twice the size of the pottery you are firing. The pit should be deep enough to completely bury the pottery and leave at least two feet of space on top for the combustible materials. You can dig the pit in your backyard or find an open space where you can safely build a fire.

Once you have dug the pit, you need to fill it with combustible materials. Wood, sawdust, and leaves are all good options. You can also add salt, copper, or other materials to create different effects on the pottery. Layer the combustible materials in the pit, making sure to leave enough space on top for the pottery.

Firing the Pottery

Now that your pit is ready, it's time to fire the pottery. Place the pottery in the pit, making sure that it is completely covered by the combustible materials. Light the fire and let it burn for several hours, adding more combustible materials as needed. The temperature inside the pit will rise quickly, so it's important to keep an eye on the pottery to make sure that it doesn't overheat.

After several hours of firing, the pottery will be ready to be removed from the pit. Use tongs or gloves to carefully remove the pieces from the pit and let them cool completely. The cooling process can take several hours, so be patient and let the pottery cool naturally.

Finishing the Pieces

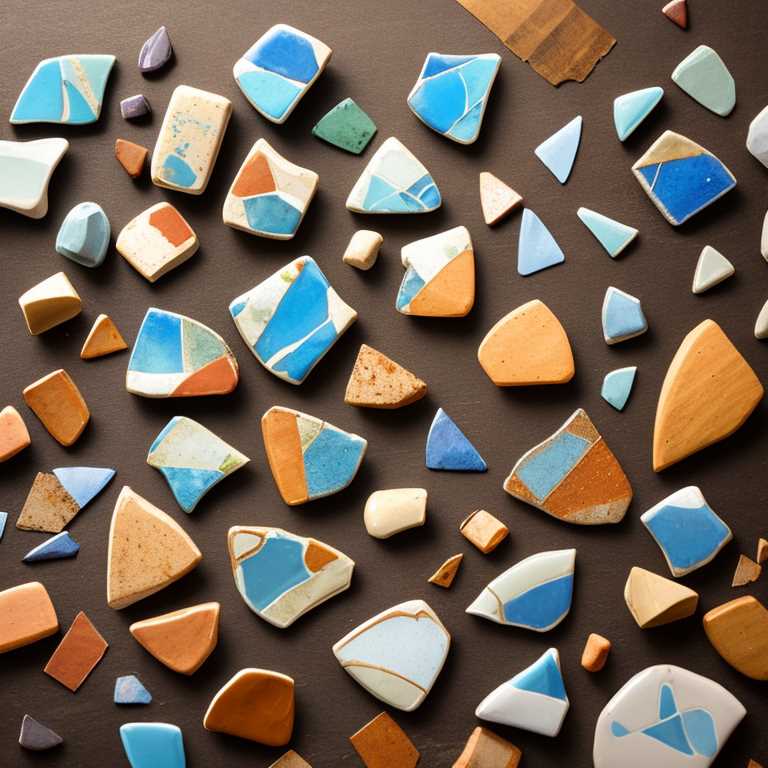
Once the pottery has cooled, you can clean it and finish the pieces. Use a soft brush or cloth to remove any ash or debris from the surface of the pottery. If you applied a slip or glaze before firing, you can now see the beautiful effects that the pit firing has created. If you didn't apply any slip or glaze, you can leave the pottery as it is or add a clear coat to protect the surface.

Pit firing pottery is a beautiful and unique way to create pottery that is both functional and decorative. It is a simple process that can be done with minimal equipment and materials, making it accessible to anyone who wants to try it. The results are always unique and unpredictable, which adds to the charm and beauty of the finished pieces. Whether you are a beginner or an experienced potter, pit firing pottery is a technique that is worth exploring.

How to repair pottery

Pottery is a beautiful and delicate art form that has been around for thousands of years. It is a craft that requires skill, patience, and creativity. However, even the most experienced potter may encounter accidents that can lead to a broken or cracked piece. If you are someone who has a broken piece of pottery that you would like to repair, there are several steps you can take to restore it to its former glory.

The first step in repairing pottery is to assess the damage. You need to determine the extent of the damage and whether it can be repaired. If the piece is broken into several pieces, it may be difficult or impossible to repair. If the piece has a single crack or chip, it is usually possible to repair it.

Once you have assessed the damage, the next step is to clean the broken pieces. You can clean the pieces with soap and water or a mild detergent. Make sure to dry the pieces thoroughly before proceeding to the next step.

After the pieces are clean and dry, you can begin to repair the pottery. There are several methods for repairing pottery, including using glue, epoxy, or a specialized ceramic adhesive.

If you decide to use glue or epoxy, make sure to choose a product that is specifically designed for use with ceramics. Regular glue or epoxy may not bond properly with the ceramic surface and may not provide a strong enough bond to hold the pieces together.

When applying glue or epoxy to the broken pieces, use a small brush or toothpick to apply a thin layer of adhesive to both sides of the break. Press the pieces together firmly and hold them in place for several minutes to allow the adhesive to dry.

If you are using a specialized ceramic adhesive, follow the manufacturer's instructions carefully. These types of adhesives are designed to bond strongly with ceramic surfaces and may provide a stronger bond than regular glue or epoxy.

Once the adhesive has dried, you can begin to fill any gaps or cracks in the pottery. You can use a specialized ceramic filler or a mixture of clay and water to fill in the gaps. Make sure to smooth out the filler with a wet finger or tool and allow it to dry completely before proceeding to the next step.

After the filler has dried, you can begin to sand the repaired area. Use a fine-grit sandpaper to gently sand the surface of the repair until it is smooth and flush with the surrounding area.

If the piece of pottery is glazed, you may need to apply a new layer of glaze to the repaired area. You can use a small brush to apply the glaze and allow it to dry completely before firing the piece.

If you do not have access to a kiln, you can use a ceramic repair kit that includes a heat-resistant adhesive and ceramic powder. These types of kits allow you to repair the pottery without firing it in a kiln.

Repairing pottery is a delicate process that requires patience and attention to detail. By following the steps outlined above, you can restore a broken piece of pottery to its former glory. Remember to assess the damage, clean the broken pieces, apply adhesive, fill any gaps or cracks, sand the repaired area, and apply glaze if necessary. With a little time and effort, you can repair your broken pottery and enjoy it for years to come.

What is glaze in pottery

Pottery is an ancient art form that has been practiced for thousands of years. From ancient civilizations to modern-day artisans, pottery has been used for both functional and decorative purposes. One of the key components of pottery is glaze, which is a type of coating or finish that is applied to the surface of the pottery to protect it and create a desired aesthetic.

So what exactly is glaze, and how is it used in pottery? In this article, we will explore the origins of glaze, the different types of glaze, and how glaze is applied to pottery.

Glaze has been used in pottery for thousands of years, and its origins can be traced back to ancient civilizations such as the Egyptians and the Greeks. These early potters discovered that by coating their pottery with a layer of clay mixed with water and minerals, they could create a watertight and durable surface that was resistant to scratches and wear.

Over time, the recipe for glaze evolved, and potters began to experiment with different minerals and oxides to create new colors and textures. Today, there are countless variations of glaze, each with its own unique properties and characteristics.

One of the most common types of glaze is a clear or transparent glaze, which is used to create a shiny, glass-like surface on pottery. This type of glaze is typically made from a mixture of feldspar, silica, and kaolin, which are all natural minerals found in the earth. When these minerals are fired at high temperatures, they melt and fuse together, creating a smooth and glossy surface on the pottery.

Another popular type of glaze is a matte glaze, which has a more textured and rough surface than a clear glaze. This type of glaze is typically made from a mixture of clay, feldspar, and talc, which creates a more porous surface that is less reflective than a clear glaze.

In addition to these basic types of glaze, there are also a wide variety of specialty glazes that are used to create specific effects on pottery. Some of these include crackle glazes, which create a network of fine cracks on the surface of the pottery, and luster glazes, which contain metallic particles that create a shimmering effect on the surface of the pottery.

So how is glaze applied to pottery? The process of glazing typically involves several steps, including preparing the glaze, applying the glaze to the pottery, and firing the pottery in a kiln.

To prepare the glaze, the potter will first mix together the various minerals and oxides that make up the glaze, along with water and other additives as needed. This mixture is then stirred or milled to create a smooth and uniform consistency.

Next, the potter will apply the glaze to the surface of the pottery using a brush, spray gun, or other tool. The glaze must be applied evenly and in a thin layer to ensure that it will fuse properly with the surface of the pottery during firing.

Once the glaze has been applied, the pottery is fired in a kiln at high temperatures. During firing, the glaze melts and fuses with the surface of the pottery, creating a durable and waterproof finish. The length of time and temperature of firing will depend on the specific type of glaze being used and the type of clay used in the pottery.

Glaze is an essential component of pottery that has been used for thousands of years. From simple clear glazes to complex specialty glazes, there are countless variations of glaze that can be used to create a wide variety of effects on pottery. Whether you are a seasoned potter or a beginner, understanding the properties and applications of glaze is key to creating beautiful and functional works of art.

How to soften pottery clay

Pottery is an ancient art form that has been practiced for thousands of years. It is an art form that requires a great deal of skill and patience to master. One of the fundamental aspects of pottery is working with clay. Clay is an essential component of pottery and is used to make everything from bowls to vases. However, working with clay can be challenging. One of the biggest obstacles that potters face is making the clay soft enough to work with. In this article, we will explore different methods for softening pottery clay.

Before we dive into the different methods for softening pottery clay, let’s take a moment to understand what clay is and how it works. Clay is a type of sedimentary rock that is composed of fine-grained minerals. It is formed from the weathering and erosion of other rocks. When clay is mixed with water, it becomes pliable and can be shaped into various forms. When the clay dries, it hardens and becomes a solid structure.

The first method for softening pottery clay is to add water. This is the most common method and is used by most potters. To add water, place the clay in a container and add water until the clay is completely covered. Let the clay sit for at least 24 hours. After 24 hours, check the clay to see if it has softened. If the clay is still hard, add more water and let it sit for another 24 hours. Repeat this process until the clay has softened.

Another method for softening pottery clay is to use a clay softener. Clay softeners are chemicals that are designed to break down the minerals in the clay and make it more pliable. There are many different types of clay softeners available, but the most common ones are sodium carbonate and sodium bicarbonate. To use a clay softener, mix it with water according to the instructions on the package. Then, add the clay to the mixture and let it sit for at least 24 hours. After 24 hours, check the clay to see if it has softened. If the clay is still hard, repeat the process until the clay has softened.

Another method for softening pottery clay is to use a clay mixer. A clay mixer is a machine that is designed to mix clay and water together. This method is ideal for potters who work with large amounts of clay. To use a clay mixer, add the clay to the mixer and turn it on. Slowly add water to the mixer until the clay is completely covered. Let the mixer run for at least 30 minutes. After 30 minutes, check the clay to see if it has softened. If the clay is still hard, let the mixer run for another 30 minutes until the clay has softened.

The final method for softening pottery clay is to use a kneading technique. Kneading is a process that involves pushing and pulling the clay to make it more pliable. To knead clay, take a small amount of clay and roll it into a ball. Then, flatten the ball with your hands and fold it in half. Repeat this process several times until the clay is pliable. If the clay is still too hard, add a small amount of water and continue kneading.

Working with pottery clay can be challenging, but with the right techniques, it can be a rewarding experience. Softening clay is an essential component of pottery, and there are many different methods for achieving this. Adding water, using a clay softener, using a clay mixer, and kneading are all effective methods for softening pottery clay. By using these techniques, potters can create beautiful and unique pieces of pottery that will last for generations.

What to do with broken pottery

broken pottery

Pottery is a beautiful and practical art form, but unfortunately, it can break easily. Whether it’s a cherished family heirloom, a souvenir from a trip abroad or a favorite piece of dishware, a broken piece of pottery can be devastating. However, there are ways to repurpose these broken pieces, turning them into something new and beautiful.

One of the most popular ways to repurpose broken pottery is to create a mosaic. Mosaics are a type of art form that involves using small, colored pieces of material to create a larger image or design. To create a mosaic with broken pottery, you’ll need to gather your broken pieces and sort them by color and size. Once you have a good variety of pieces, you can start to lay them out on a flat surface, arranging them in a pattern or design of your choice. Once you’re happy with your layout, you can glue the pieces onto a sturdy backing, such as a piece of wood or cardboard. The end result is a beautiful and unique piece of art that showcases your broken pottery in a new and creative way.

Continue reading “What to do with broken pottery”

How much is pottery clay

pottery clay

Pottery clay is a versatile and essential material used by potters and ceramic artists worldwide to create beautiful and functional pottery. It is a natural material that has been used for thousands of years and comes in various types and grades, each with its unique properties. The cost of pottery clay varies depending on several factors, such as the type of clay, the grade, the quantity purchased, and the location.

The most common types of pottery clay include earthenware, stoneware, and porcelain. Earthenware is the most affordable type of clay and is typically used for making decorative and functional pottery such as vases, bowls, and figurines. It is a low-fired clay that is easy to work with and produces a warm, rustic finish. Stoneware is a mid-range clay that is more durable and suitable for functional pottery such as plates, mugs, and baking dishes. It is fired at higher temperatures than earthenware, which makes it harder and more water-resistant. Porcelain is the most expensive type of clay and is used for creating delicate and refined pottery such as teacups, saucers, and figurines. It is a high-fired clay that produces a smooth, glass-like finish.

Continue reading “How much is pottery clay”

How to glue clay pottery back together

Pottery has been around for thousands of years, and it is no surprise that accidents happen. When a piece of pottery breaks, it can be heartbreaking to lose a cherished piece. Fortunately, with the right tools and techniques, it's possible to glue clay pottery back together. In this article, we’ll go over the steps involved in repairing broken pottery.

Tools and Materials Needed

Before getting started, you'll need to gather the necessary tools and materials. Here's what you'll need:

– Pottery glue: There are many types of pottery glue available, but the most popular are epoxy and cyanoacrylate (also known as super glue).

– Sandpaper: You'll need sandpaper to smooth out rough edges and surfaces.

– Rubbing alcohol: This will be used to clean the surfaces that will be glued together.

– Paintbrush or toothpick: You'll need this to apply the glue.

– Clamps or tape: This will be used to hold the pieces together while the glue dries.

– A clean, flat surface to work on.

Step 1: Clean the Broken Pieces

The first step in repairing your pottery is to clean the broken pieces. Use rubbing alcohol to clean the surfaces that will be glued together. This will remove any dirt, oil, or residue that could prevent the glue from bonding properly.

Step 2: Apply the Glue

Next, apply the glue to one of the broken pieces. Use a paintbrush or toothpick to apply a thin layer of glue to the surface that will be joined to the other piece. Be sure to apply the glue evenly and cover the entire surface.

Step 3: Join the Broken Pieces

Once the glue has been applied, carefully join the broken pieces together. Make sure the pieces fit together perfectly and apply gentle pressure to ensure a good bond. If the pieces don't fit together perfectly, it may be necessary to sand down one of the broken edges.

Step 4: Hold the Broken Pieces Together

After the pieces are joined, hold them together tightly. Depending on the size and shape of the pottery, you may need to use clamps or tape to hold the pieces together while the glue dries. Be careful not to apply too much pressure, as this could cause the pottery to crack further.

Step 5: Sand the Edges

Once the glue has dried, use sandpaper to smooth out any rough edges or surfaces. This will make the pottery look as good as new.

Tips for Gluing Pottery

– Be patient: Gluing pottery takes time and patience. Rushing the process could lead to a poor bond or further damage to the pottery.

– Choose the right glue: Epoxy and cyanoacrylate (super glue) are both good options for gluing pottery. However, epoxy is a stronger adhesive and is better suited for larger pieces of pottery.

– Use clamps or tape: Holding the pieces together while the glue dries is important for a good bond. Use clamps or tape to hold the pieces together, but be careful not to apply too much pressure.

– Sand the edges: Sanding the edges of the pottery after the glue has dried will give it a smooth finish and make it look as good as new.

In Conclusion

Breaking a piece of pottery can be a heartbreaking experience, but with the right tools and techniques, it's possible to glue it back together. Follow the steps outlined in this article to repair your broken pottery and give it a new lease on life. Remember to be patient and choose the right glue for the job. With a little care and attention, your pottery will look as good as new in no time.

What is pottery clay made of

Pottery has been a part of human culture for centuries, and it is still a thriving industry today. Pottery clay is the primary material used to create pottery items. But what exactly is pottery clay made of? The answer is not straightforward, as there are many types of pottery clay, each with its own unique properties and composition.

Pottery clay, also known as ceramic clay, is a fine-grained material that is used to create pottery items such as plates, bowls, cups, and vases. Pottery clay is a natural material that is mostly composed of minerals and organic matter. The composition of the clay differs depending on the location it is sourced from and the intended use.

The primary constituent of pottery clay is clay minerals, which are layered silicate minerals. The most common clay minerals are kaolinite, illite, and smectite. These minerals are formed from the weathering and erosion of rocks containing feldspar and mica. The composition of the clay minerals affects the plasticity, workability, and firing properties of the clay.

In addition to clay minerals, pottery clay also contains other minerals such as quartz, feldspar, and mica. These minerals are present in small amounts but can affect the characteristics of the clay. For example, the presence of quartz can make the clay more brittle and less plastic. Feldspar can increase the melting point of the clay, making it more resistant to heat.

Organic matter is also present in pottery clay. This can include plant matter, such as leaves and roots, as well as animal matter, such as bones and shells. Organic matter can affect the color and texture of the clay, and can also affect its plasticity. If the organic matter is not removed from the clay before firing, it can cause the clay to crack and become brittle.

Pottery clay is often mixed with other materials to improve its properties. For example, sand or grog (crushed fired clay) can be added to the clay to increase its strength and reduce shrinkage during firing. Other materials, such as fluxes and colorants, can be added to the clay to improve its firing properties and create a desired color or texture.

The composition of pottery clay also affects its firing properties. The firing process is the final step in creating pottery items, and it involves heating the clay to a high temperature to make it hard and durable. The temperature at which the clay is fired depends on the composition of the clay and the intended use of the item.

The type of clay minerals present in the clay affects its firing temperature. For example, kaolinite clay can be fired at a lower temperature than smectite clay. The presence of fluxes, such as feldspar, can also affect the firing temperature. Fluxes lower the melting point of the clay, allowing it to fuse together and become harder during firing.

The color of pottery clay can also be affected by firing. Some types of clay, such as red clay, turn a different color when fired due to the presence of iron oxide. Other types of clay, such as porcelain, remain white when fired.

Pottery clay is a complex material that is made up of a variety of minerals and organic matter. The composition of the clay affects its properties, including its plasticity, workability, and firing properties. The firing temperature of the clay is also affected by its composition, and the color of the clay can be changed by firing. Understanding the composition of pottery clay is important for creating high-quality pottery items that are durable, functional, and aesthetically pleasing.

What is glazing in pottery

Pottery is an ancient craft that has been practiced for thousands of years. One of the most important techniques used in pottery is glazing. Glazing is the process of applying a liquid coating to a ceramic piece, which is then fired in a kiln to create a hard, glossy surface. Glazing not only enhances the appearance of pottery but also protects it from damage and makes it more durable.

Glazes are made from a variety of different materials, including clay, feldspar, quartz, and metal oxides. The specific materials used in a glaze will affect its color, texture, and other properties. Glazes can be transparent, opaque, or somewhere in between. They can also be glossy, matte, or somewhere in between.

One of the most important properties of a glaze is its firing temperature. Glazes are typically fired at temperatures ranging from 1,000 to 1,400 degrees Celsius. The firing temperature will affect the final appearance and properties of the glaze. For example, a high-fired glaze will be more durable and resistant to chipping than a low-fired glaze.

Glazes can be applied to pottery in a variety of ways. One common method is to dip the piece into a bucket of glaze, allowing it to soak up the liquid. Another method is to brush the glaze onto the surface of the pottery. Some potters use a spray gun to apply the glaze in a thin, even coat. The method used will depend on the size and shape of the piece and the desired effect.

Once the glaze has been applied, the pottery is fired in a kiln. The firing process can take several hours to several days, depending on the size of the piece and the firing temperature. During firing, the glaze will melt and fuse to the surface of the pottery, creating a hard, glassy coating.

There are many different types of glazes that can be used in pottery. Some of the most common include:

1. Earthenware glazes – These glazes are typically low-fired and are used on earthenware pottery. They are often brightly colored and can be translucent or opaque.

2. Stoneware glazes – These glazes are used on stoneware pottery and are typically high-fired. They are often earthy in color and can be glossy or matte.

3. Porcelain glazes – These glazes are used on porcelain pottery and are typically high-fired. They are often white or translucent and can be glossy or matte.

4. Raku glazes – Raku is a Japanese firing technique that produces unique, crackled glazes. The pottery is removed from the kiln while still hot and is rapidly cooled, which causes the glaze to crackle.

Glazing is an important part of the pottery-making process, as it not only enhances the appearance of the pottery but also makes it more durable. However, glazing can also be a challenging process, as the glaze must be applied in a way that ensures even coverage and consistent firing. It is important to follow safety guidelines when working with glazes, as some materials can be toxic or dangerous when handled improperly.

Glazing is an essential technique in pottery that allows potters to create beautiful, functional pieces that are both aesthetically pleasing and durable. By understanding the properties and techniques involved in glazing, potters can create unique and beautiful pieces that will last for generations.